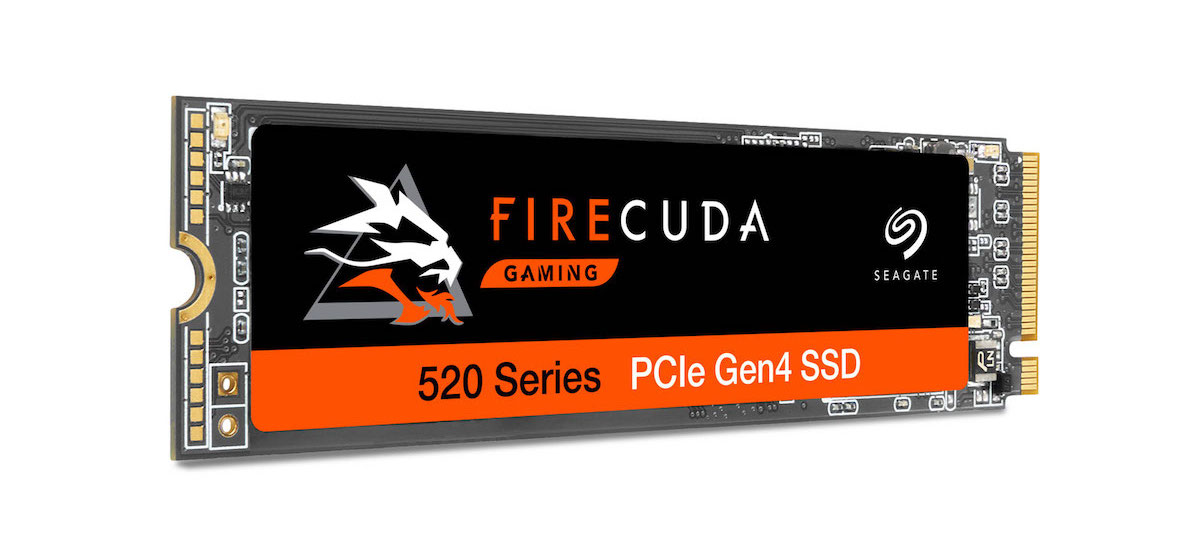
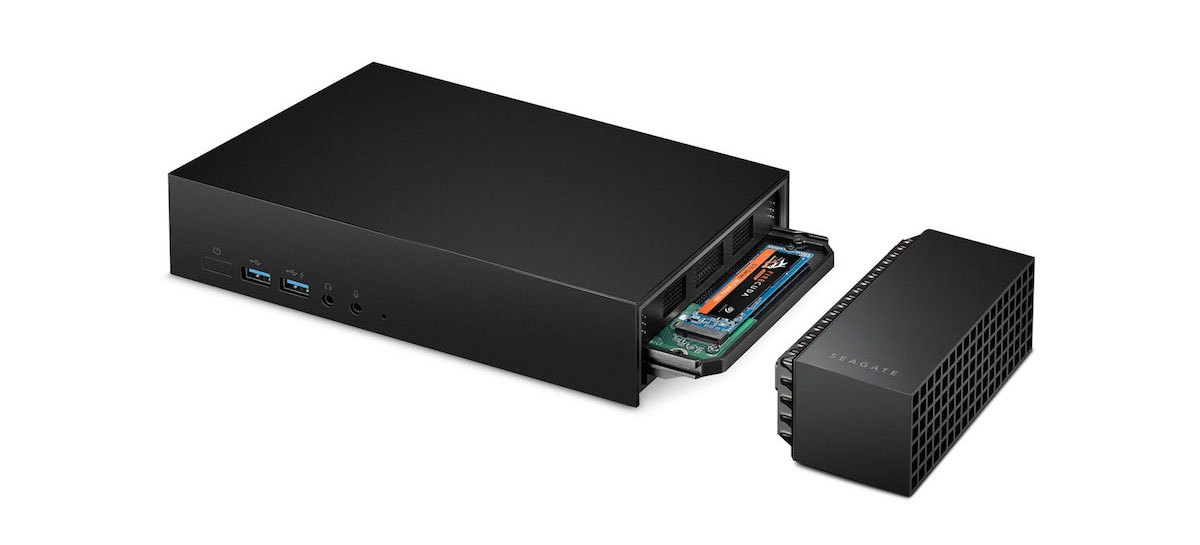
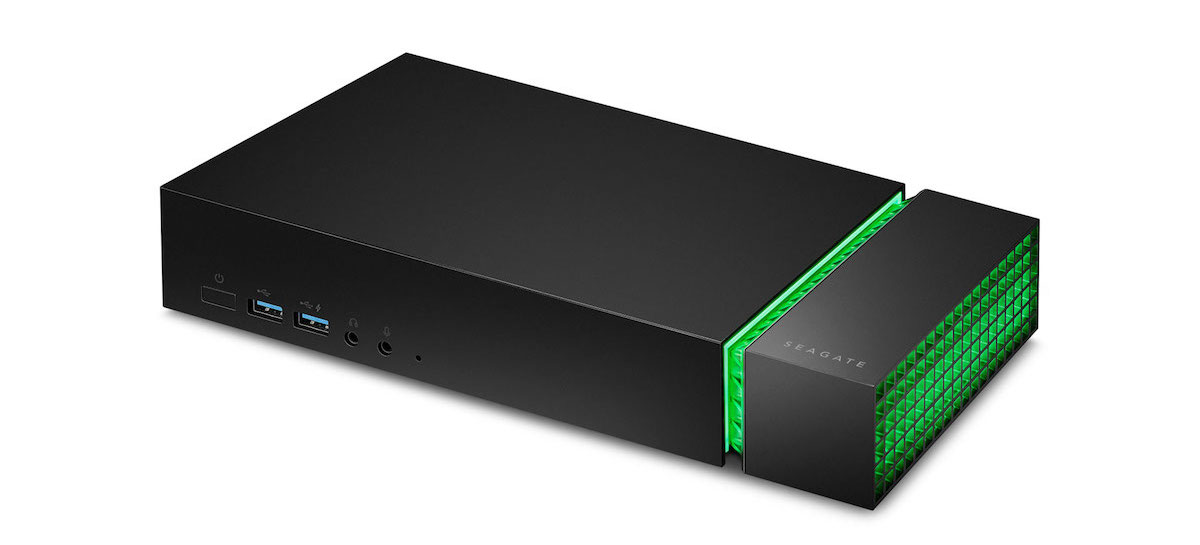
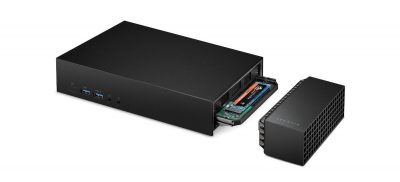
Torch The Competition With New FireCuda 520 SSD and FireCuda Gaming Dock2019-11-12T10:52:16+00:00By Steve Pipe|
Torch The Competition With New FireCuda 520 SSD and FireCuda Gaming Dock2019-11-12T10:52:16+00:00By Steve Pipe|
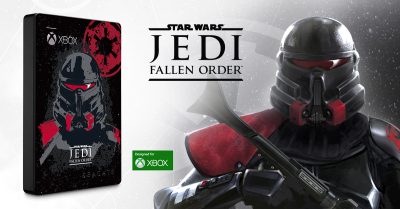
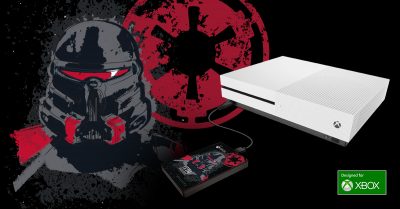
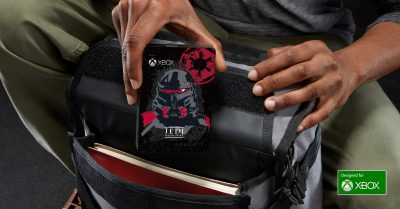
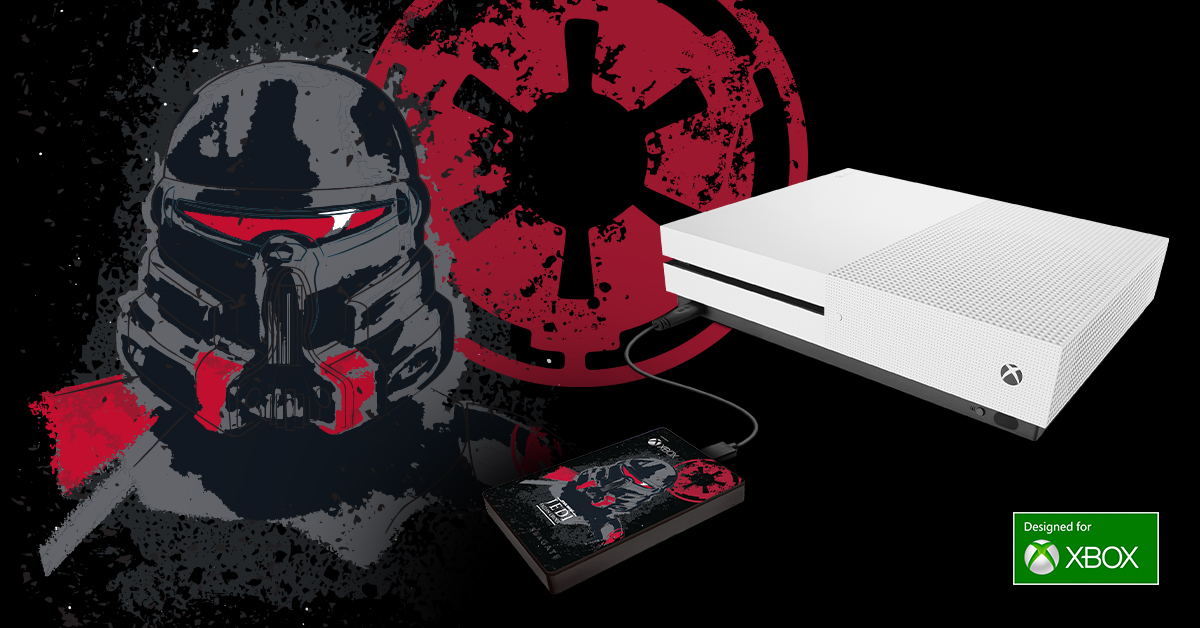
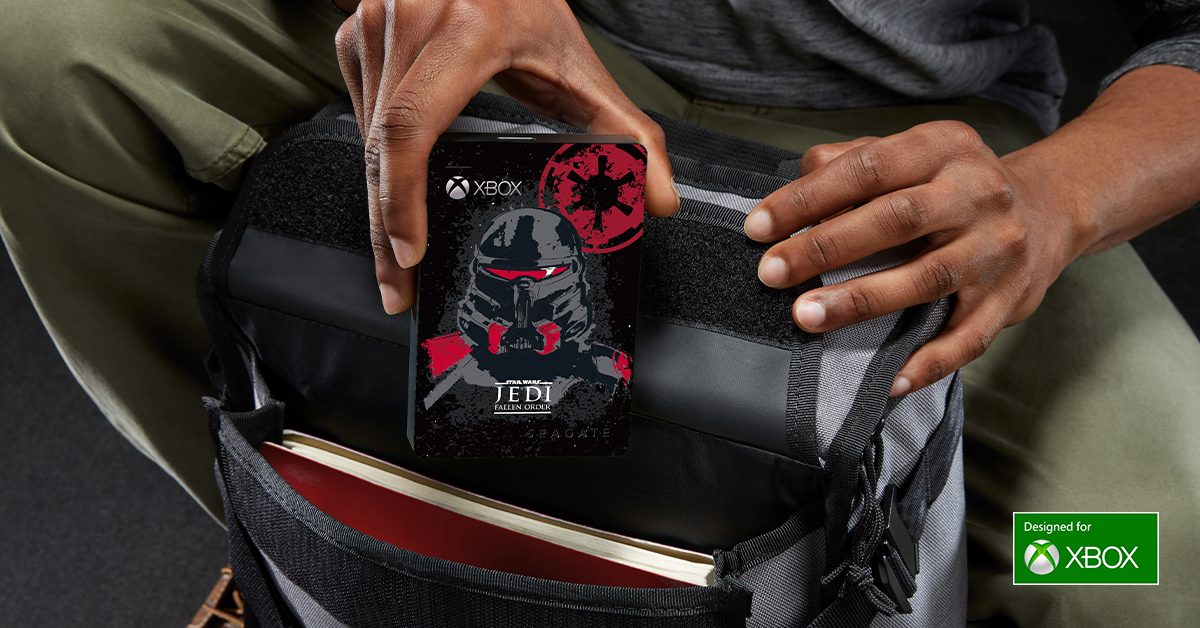
Help Rebuild the Jedi Order With Seagate’s New Star Wars Jedi: Fallen™ Order-Themed Special Edition Game Drive for Xbox2020-03-24T17:42:42+00:00By Greg Belloni|

